Macs have a very limited choice when it comes to tools. If you want to make a Kiss doll in a Mac, there is only one tool to use to make both kcf files and cel files, and that is CelMaker.
CelMaker is a little buggy, but it is the only choice Macs have, and most of the bugs can be avoided with a little prior planning.
The first step to using CelMaker on a Mac is creating your palette (assuming of course that you already have the pictures you wish to make into cels). You can accept the default palette, which is the standard Mac palette. However, the transparent color is then white, which is often not desired. If you wish to make your own palette, there are 2 easy ways to make a palette.
The first way is by using ResEdit. If you do not have ResEdit, you need it. It is the most useful tool in doing things with your Mac (lots of things, not just Kiss dolls), at least until you upgrade to one of the more advanced tools that is based on ResEdit (I stick with ResEdit. Its free, I know how to use it, and so far I haven't needed one of the more advanced tools). You can edit icons, change which program will open a file (you can also do a lot of extremely dangerous things with ResEdit since it can change all the resources. Use it with caution, and a little bit of common sense)...
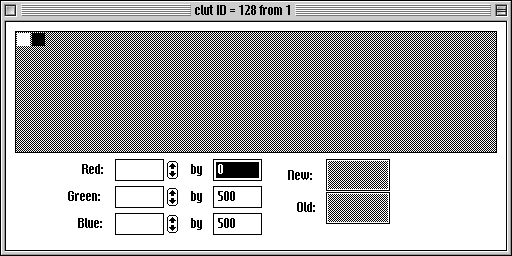
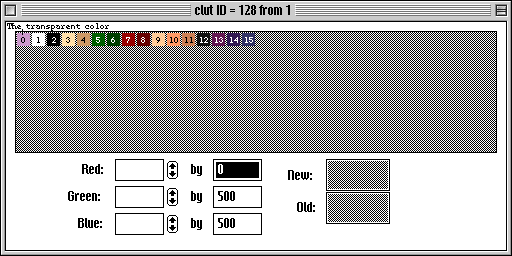
To make a palette in ResEdit, first you need to create a new ResEdit file. It will prompt you right away for a name, name it what you want your palette to be named, without the .kcf extension. Then pull down the Resource menu, and Create a new resource. Scroll down the list until you come to clut, and create a new clut resource. (You can also create a pltt resource for your palette, but cluts are easier to work with. pltts area always 256 colors, even when you have 16 or fewer defined, and they want to have white as the transparent color.) When you open the clutt resource, it will come up with a window that have two boxes, white and black.

Create new color spaces by pulling down the Resource menu and choosing Insert New Color.. They will be created in black. Double click each box to change the color, you will be taken to the standard Mac color menus (depending on your system, you have different choices, I use System 8, so I tend to use the HTML color picker a lot to define my colors).

For the sample kiss, I am using 2 16 color palettes, named "1" and "2," both created with the meathod described above.
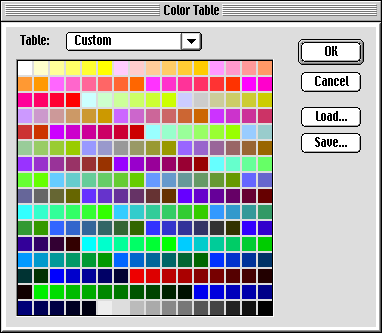
If you instead want to use a single 256 palette, you can use the meathod described above, but matching 256 colors to exactly what you want gets tedious. You can easily create a 256 palette in Photoshop. First, open a file in Photoshop. You might want to create a picture that includes every item you have made for your Kiss, making sure none of the colors are hidden. Then pull down the Image menu, select Mode, and select Indexed Color. It will come up with a menu, that will not let you define more than 256 colors (if you choose System (Macintosh), System (Windows) or Web palettes, it will not define with what is in the picture, but instead by the colors predefined in those palettes. Exact and Adaptive are your best choices for reducing colors without losing anymore than necessary). Then go back to the Image -> Mode Menu, and choose Color Table... This will show you the colors you are working with. White will be in the first space.

(Shown is the Macintosh System Palette)
To make a color other than white your transparent color, find the color that is transparent in the palette (or choose a color space that you are not using, if you used Exact, you will likely have a number of black spaces), and change it to white. The change the white at the first color to your transparent color.

Then press the Save button, and save the palette under the name of your palette (again, without the .kcf extension).
Note: It is impossible to create a palette of less than 256 colors in Photoshop. While you can define fewer colors, it will always fill the rest of the spaces with black when made into a kcf file.
I often used the Macintosh System palette to make my earlier Kisses, because it was an easy palette to use, especially when making items in Graphic Converter.
Now that you have your palette, open CelMaker. In the window that comes up upon opening, choose Custom Palette, and then direct the program to the palette you created. Then choose Process Pict in the File Menu, and choose all the files you have as cels. If you are using more than one palette, make sure to only process the cels that use that palette, then quite, open CelMaker again, and choose the other palette to process those cels, for each palette you have created.


